|


Install modified swing arm. Install pivot shaft,
pivot shaft mounting bracket, the roll pin on each mounting
bracket must register in the rubber mount locating hole. Torque
pivot shaft mounting bracket bolts 34 to 42 ft. lbs. Install pivot
shaft nut left side. Torque swing arm
pivot shaft nut to 45 ft. lbs.
######################################################
Have a friend help set a wheel and tire on the brake side of the
rear end. Turn the rear end over on to the wheel that was just
installed. Mark the star plate and a spoke with green tape to help
realign when reinstalling star plate.
######################################################

Remove the five allen head bolts in the star plate to spokes, lift
and remove the star plate with axle housing and axle as a unit. If
your FLT is 1999 and down, take your pulley and differential
spacer to a machine shop. Have them measure the thickness of your
pulley and remove that amount from the differential spacer.
Install Pulley. Install 7/16" pulley bolts with lock washer
provided apply blue loctite and
torque the pulley bolts. Have friend help hold the center section
of the rear end with a screw driver through a hole in the rotor
through one of the holes in the star plate. Torque the pulley
bolts 55 to 65 ft. lbs. Install spacer on the differential spigot.
If your FLT is 2000 and up you can install your pulley and
torque, then install the differential spacer. Your spacer will
slide inside of the pulley.
######################################################

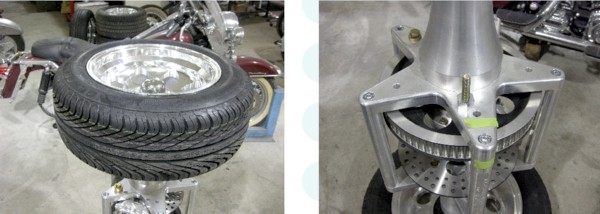
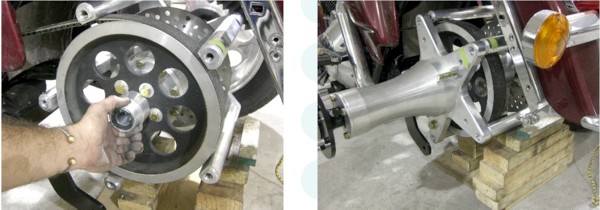
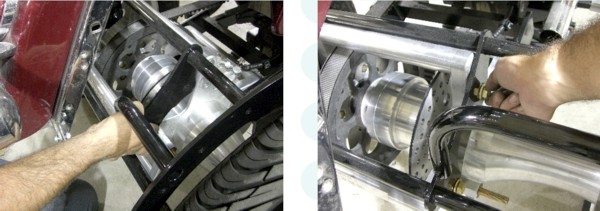
The picture on the left is of a 2000 and up
pulley, note the space around the spigot and the inside hole of
the pulley. The picture on the right is of a 1999 and down pulley.
Note that there is no space around the spigot and the inside hole of
the pulley.
######################################################
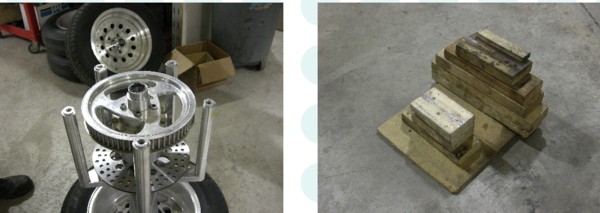
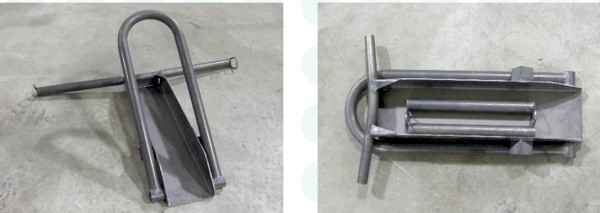
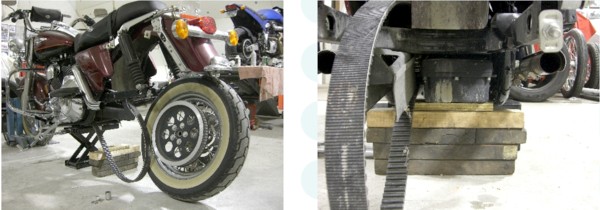
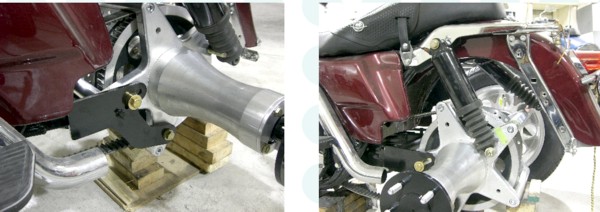
Once you have finished installing the pulley and differential
spacer, you might want to make this stand to set the rear end on
while finishing the installation. The height may be a little
different if you do not use the wheels and tire that we offer. The
rear end will sit level with this setup.
######################################################
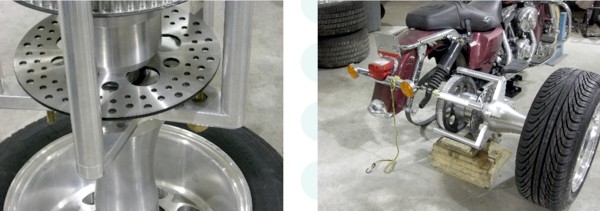
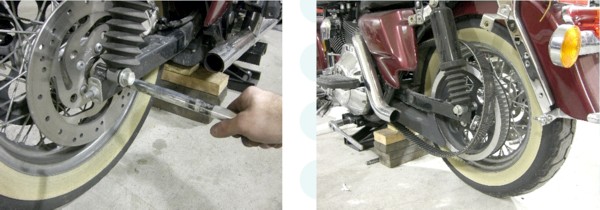
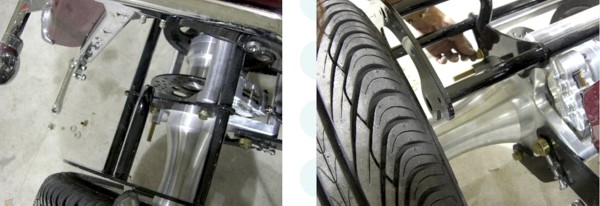
If you have a 70 tooth pulley, remove the caliper. Slide the rear
end under the bike. The rear end will have to be over to the right
side as shown. Pull the differential out a little so you can slide
the belt over the pulley.
######################################################

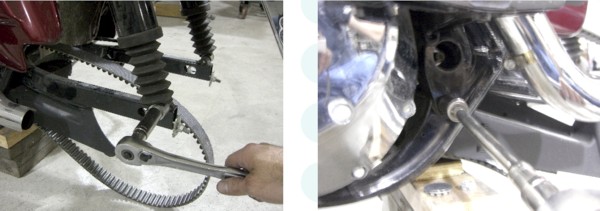
Push the differential on to the right axle.
Install axle housing, star plate onto rear end differential
housing, align the star plate with the spoke that was marked with
the green tape. Start all ½” allen bolts on star plate
into spokes, tighten evenly. DO NOT FORCE BOLTS IN. Reinstall
caliper and tighten bolts. Install brake line to rear caliper and bled. Remove the ½” allens one at a time apply blue
loctite and reinstall torque 60 ft. lbs. Both Sides.
######################################################

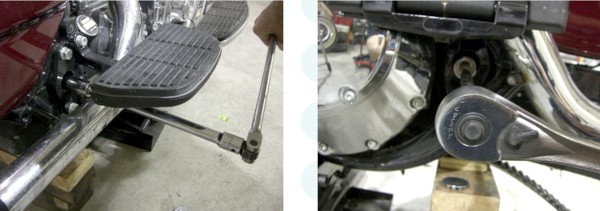
Swing the swing arm up and install lower swing
arm mounting bolts on both sides. Install upper swing arm mounting
bolts make sure to place the 1/4" thick washer between the swing
arm and star plate. The 1/2" thick spacer goes on the outside of
the swing arm. Install wheel on left side. Install shocks both
side. (If you are installing fenders the shock will have to be
remove for installation of the fenders and fender bracket.) Drill
small hole in the fender to move the air shock line back about 1".
######################################################

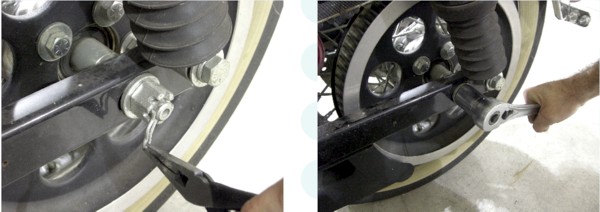
Torque the lug nuts 78 to 85 ft. lbs. Both
sides. The trike must be sitting
on the ground on its suspension to adjust the belt.
Adjust belt tension to factory specs. Tighten jam nut on adjuster
bolts and torque the four rear end mounting bolts to 104 ft. lbs. Re-torque lug nuts after 25 miles or 100 mile
maximum.
######################################################
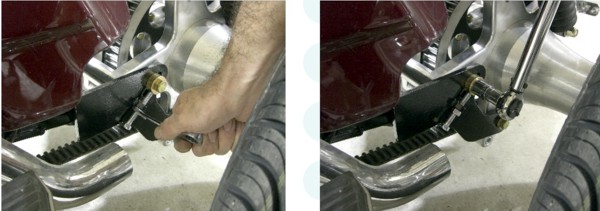
Installing the fenders and fender bracket, place
jack under trike. Remove shock and place on to of bike.
######################################################

Raise the jack to get has much room as possible
to get the fenders and fender bracket under the rear fender. (We
have shown the installation of the fender bracket without the
fenders installed for clarity.) Have friend help when you are
installing the fenders and fender bracket. Slide the fender
bracket under the rear fender and place on the rear end. Install
the two fender bracket bolt on both sides and torque to 80 ft.
lbs.
######################################################
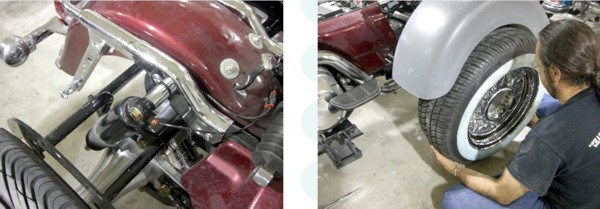
Install shocks. Some wheels can be installed
with out removing the fenders. Raise the bike on the jack, tilt
the bottom of the wheel closer to the trike then lift the wheel
over the studs on the axle.
######################################################
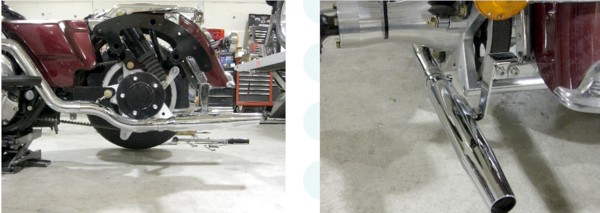
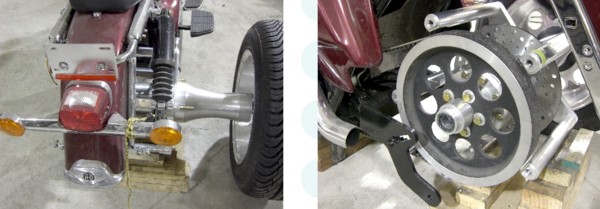
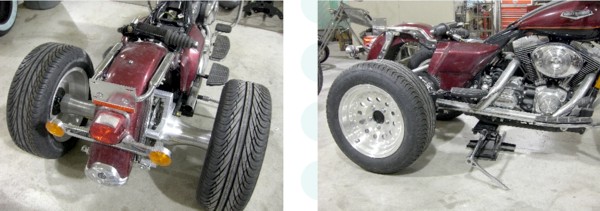
New exhaust shown installed. The fender and
wheel have been remove for clarity.
######################################################
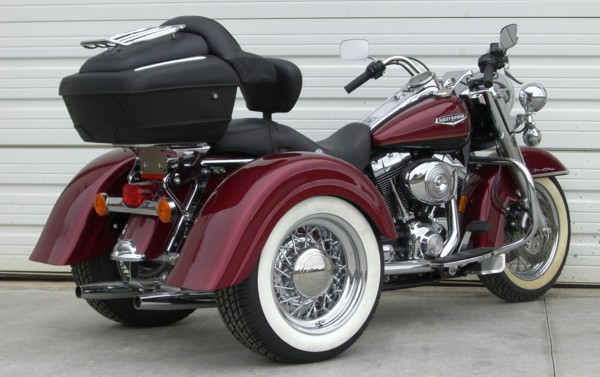
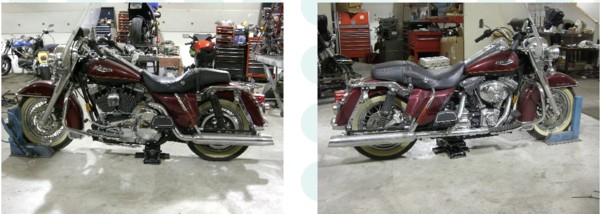
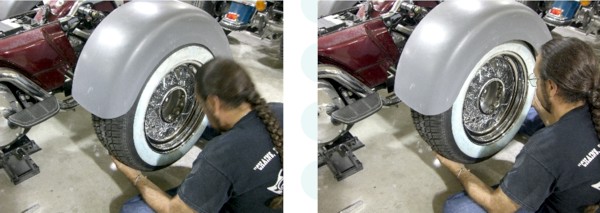
Installation completed on a 2000 Road King
###################################################### |